前回はLet's Encryptを使ってワイルドカード証明書の発行と自動更新を実装しました
今回はDrupal9というコンテンツ管理システム(CMS)を利用するために
Nginxを使ったWebサーバとMariaDB、phpMyAdminの構築を進めます
今回のコンポーネント
| コンポーネント | 利用していたもの |
|---|---|
| Webサーバ | NGINX 1.18 |
| SSL証明書 | Let's Encrypt |
| データベース | MariaDB 10.3 |
| データベース管理 | phpMyAdmin |
NGINX(エンジンエックス)
Ubuntuで稼働させるWebサーバとしてはApache、NGINXが主要な候補になると思います。
Netscartによる2021年3月時点での調査では、全WebサイトにおけるシェアではNGINXが35.54%となっています。
調査元や分析軸により異なりますが、元々トップシェアだったApacheにNGINXが迫っている状況ですね。
Apacheは色々と触りましたがNGINXはあまり経験がないので、今回はNGINXを使ってみたいと思います。
MariaDB
MariaDBはMySQLから派生して開発されている、オープンソースのリレーショナルデータベースです。
当初(バージョン5.1~5.5)はMySQLの非商用版ベースに一部改良してリリースしていましたが、大規模なリファクタリングを加えたMySQL5.6からはMariaDBはMySQL5.5をベースに新機能の選択的追加とMariaDBの独自機能を追加するよう方針変更がなされており、バージョン番号が10と独自採番に変更されました。
2018年5月にリリースされたバージョン10.3からは、Oracle Databaseからの移行を支援するためにOracle互換機能の実装が始まっています。
今回はMariaDB10.3を利用したいと思います。
phpMyAdmin
phpMyAdminはPHPで実装されたMySQLの管理ツールです。
MySQLのデータベースやテーブルの作成、データ追加・参照などがSQL分を作成することなくWebインタフェースで行えます。
MySQLから派生したMariaDBは管理インタフェースに互換があり、phpMyAdminでの操作が可能です。
今回はphpMyAdmin4.9.5を利用します。
構築記録
では、早速構築を進めます。
繰り返しになりますが、今回の構成はUbuntu20.04LTS、NGINX 1.18、MariaDB 10.3、phpMyAdmin4.9を利用します。
固定のグローバルIP1個をもつVPS環境(WebARENA Indigo)を利用し、独自ドメインを利用するため、1台のサーバで公開用のホスト名と、各種管理機能用のホスト名を分離して利用します。
今回はワイルドカード証明書を利用しているため、1つのSSL証明書で完結しています。
| 用途 | ホスト名(FQDN) |
|---|---|
| 公開用 | www.your-domain.com |
| 管理用 | manage.your-domain.com |
以降の構築例は上記を前提に記載していきます
MariaDBのセットアップ
MariaDBインストール
今回はパッケージ(apt)を利用してインストールします
Ubuntu 20.04.2LTSでは2021年4月時点ではMariaDB 10.3.25がインストールされました
# apt update
# apt install -y mariadb-server mariadb-client
MariaDB初期セットアップ
mysql_secure_installationコマンドを実行して初期セットアップを行います
|
# mysql_secure_installation NOTE: RUNNING ALL PARTS OF THIS SCRIPT IS RECOMMENDED FOR ALL MariaDB In order to log into MariaDB to secure it, we'll need the current Enter current password for root (enter for none): [Enter] ※初期登録のためまずは「enter(none)」 Setting the root password ensures that nobody can log into the MariaDB You already have a root password set, so you can safely answer 'n'. Change the root password? [Y/n] [n] ※変更しないため「n」 By default, a MariaDB installation has an anonymous user, allowing anyone Remove anonymous users? [Y/n] [y] ※anonymousユーザは削除するため「y」
Normally, root should only be allowed to connect from 'localhost'. This Disallow root login remotely? [Y/n] [y] ※リモートからのrootログインは禁止するため「y」 By default, MariaDB comes with a database named 'test' that anyone can Remove test database and access to it? [Y/n] [y] ※テストDBは削除するため「y」 Reloading the privilege tables will ensure that all changes made so far Reload privilege tables now? [Y/n] [y] ※権限再読み込みを実施するため「y」 |
一般ユーザへのMariaDB rootログイン許可とパスワード設定
# mysql -u root

MariaDB [(none)]> UPDATE mysql.user SET plugin = 'mysql_native_password' WHERE User = 'root';
MariaDB [(none)]> FLUSH PRIVILEGES;
MariaDB [(none)]> \q
システム用記述
システムの各種メンテナンスに「/etc/mysql/debian.cnf」を参照するためパスワードを追加します
# vin /etc/mysql/debian.cnf
|
[client] |
NGINX(エンジンエックス)セットアップ
nginxインストール
aptを使ってインストールします。Ubuntu20.04.2LTSの2021年4月時点では1.18.0がインストールされます
# apt update
# apt install -y nginx
# systemctl start nginx
# systemctl enable nginx
PHP-FPMインストール
DrupalではPHPを利用しますので、PHP-FPMと関連モジュールをインストールします
# apt install php php-fpm php-gd php-common php-mysql php-apcu php-gmp php-curl php-intl php-mbstring php-xmlrpc php-gd php-xml php-cli php-zip -y
PHP-FPMの設定を編集
今回インストールされたPHPのバージョンは7.4となります
php-fpmでは「/etc/php/7.4/fpm」に設定ファイルがおかれます。尚、CLI用の設定ファイルは「/etc/php/7.4/cli」になります。
こちらを編集します
# vim /etc/php/7.4/fpm/php.ini
タイムゾーンとメモリ量アサイン、最大ファイルアップロードサイズ、代々実行時間、セッションセーブパスを変更します
|
以下の箇所を変更 date.timezone = Asia/Tokyo |
cgi.fix_pathinfo = 0は必要?
各種サイトでは「cgi.fix_pathinfo = 0」とするよう記載されていますが、PHP5.3.9以降では不要です
cgi.fix_pathinfo=0とするようになったのはFastCGIを使った際に生じるセキュリティ上の問題が原因です。
これは、PHP5.3.8以前では上記設定を行わないと例えばjpgといった異なる拡張子のPHPファイルをアップロードされると実行されるセキュリティ上の課題がありましたが、PHP5.3.8以降では「security.limit_extensions」という実行可能な拡張子の定義を行うようになったためです。
security.limit_extensionsの変更
Ubuntu 20.04.2LTSではaptを使ってPHP-FPMを利用すると「security.limit_extensions」には「.php .php3 .php4 .php5 .php7」と設定されていますが、不要な拡張子は制限を行うべきなので「.php」のみを対象とするよう変更します。
# vim /etc/php/7.4/fpm/pool.d/www.conf
| ; Limits the extensions of the main script FPM will allow to parse. This can ; prevent configuration mistakes on the web server side. You should only limit ; FPM to .php extensions to prevent malicious users to use other extensions to ; execute php code. ; Note: set an empty value to allow all extensions. ; Default Value: .php ;security.limit_extensions = .php .php3 .php4 .php5 .php7 security.limit_extensions = .php |
PHP-FPMの起動
systemctlコマンドを利用してPHP-FPMの起動実行、および再起動時の自動起動を有効化します
# systemctl restart php7.4-fpm
# systemctl enable php7.4-fpm
nginxの設定
標準ではTLS1、TLS1.1が有効になっているため、TLS1.2、TLS1.3を利用するよう明示します
# vim /etc/nginx/nginx.conf
| #ssl_protocols TLSv1 TLSv1.1 TLSv1.2 TLSv1.3; # Dropping SSLv3, ref: OODLE ssl_protocols TLSv1.2 TLSv1.3; # Dropping TLSv1 TLSv1.1 |
phpMyAdminセットアップ
今後、各種ツールのセットアップを行いますが、データベース管理をWeb UIベースで行うためにまずphpMyAdminをセットアップします。
phpMyAdminインストール
今回もパッケージ(apt)を使ってインストールします。
# apt update
# apt install phpmyadmin
- Webサーバを確認されますが、選択肢にnginxは無いので選択しません
- dbconfig-commomを利用するか確認されますが、今回は利用しません
「Configure database for phpmyadmin with dbconfig-common?」「no」
phpMyAdmin設定の編集
パッケージでインストールすると設定すべき項目は少ないですが、今回はドキュメントルート配下ではなくnginxのエイリアスを利用するため、テキストエディタを利用して設定ファイルを編集します
# vim /etc/phpmyadmin/config.inc.php
|
末尾に以下を追加 $cfg['PmaAbsoluteUri'] = 'https://manage.your-domain.com/phpmyadmin'; |
データベース設定の編集
続いて、phpMyAdminの構成を保管するためのDBの設定を行います
今回は以下を前提とします
| DB名 | phpmyadmin |
| DBユーザ名 | phpmyadmin |
| パスワード | StrongPassword |
# vim /etc/phpmyadmin/config-db.php
| $dbuser='phpmyadmin'; $dbpass='StrongPassword'; $basepath=''; $dbname='phpmyadmin'; $dbserver='localhost'; $dbport='3306'; $dbtype='mysql'; |
続いて、用意されたセットアップスクリプトを利用してDBを作成し、続いてユーザ phpmyadminを作成します。
# mysql -u root -p
source /usr/share/phpmyadmin/sql/create_tables.sql;
GRANT ALL ON phpmyadmin.* TO 'phpmyadmin'@'localhost' IDENTIFIED bY 'StrongPassword';
FLUSH PRIVILEGES;
\q;
phpMyAdmin用にnginxを設定
前述した通り、管理用には「manage.your-domain.com」を利用します。
まずBASIC認証の準備
ベーシック認証用にhtpasswdファイルを作成します
# htpasswd -c /etc/nginx/.htpasswd {username}
nginxコンフィグ作成
まず、「manage.your-domain.com」用のコンフィグファイルを作成します。
# vim /etc/nginx/sites-available/manage
以下サンプルを記載します
|
server { |
上記構成のポイントは以下です
- Let's Encryptで作成したワイルドカード証明書を利用
- httpでアクセスされたものはhttpsにリダイレクト
- https://manage.your-domain.com/phpmyadminをphpMyAdminに利用
- /phpmyadmin向けのアクセスは/usr/share/phpmyadminをエイリアスとする
※aptでphpMyAdminをインストールすると/usr/share/phpmyadmin以下にコンテンツファイルが置かれます - /phpmyadmin向けのアクセスはBASIC認証を行う
passwdファイルは/etc/nginx/.htpasswd - 本サイトは、ドキュメントルート宛も、phpmyadmin宛のアクセスもアクセス元を制限
※例では 11.22.33.0/24と12.34.56.78からのアクセスを許可
nginx再起動
nginxのコンフィグを確認し、問題なければnginxを再起動します
# nginx -t
# systemctl restart nginx
アクセスしてみる
https://manage.your-domain.com/phpmyadminにアクセスしてみます
BASIC認証画面が出たら、設定したユーザ名/パスワードを入力します
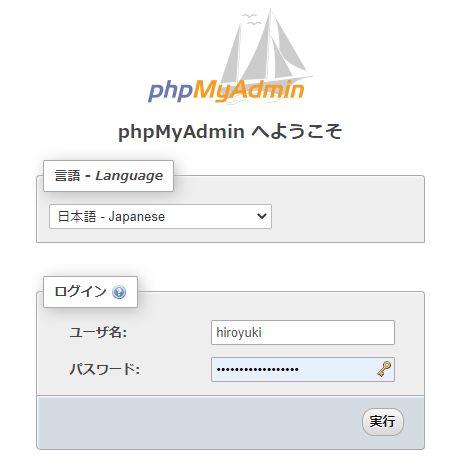
ようこそ画面がでたら、適当なMariaDBのユーザでアクセスをしてみます
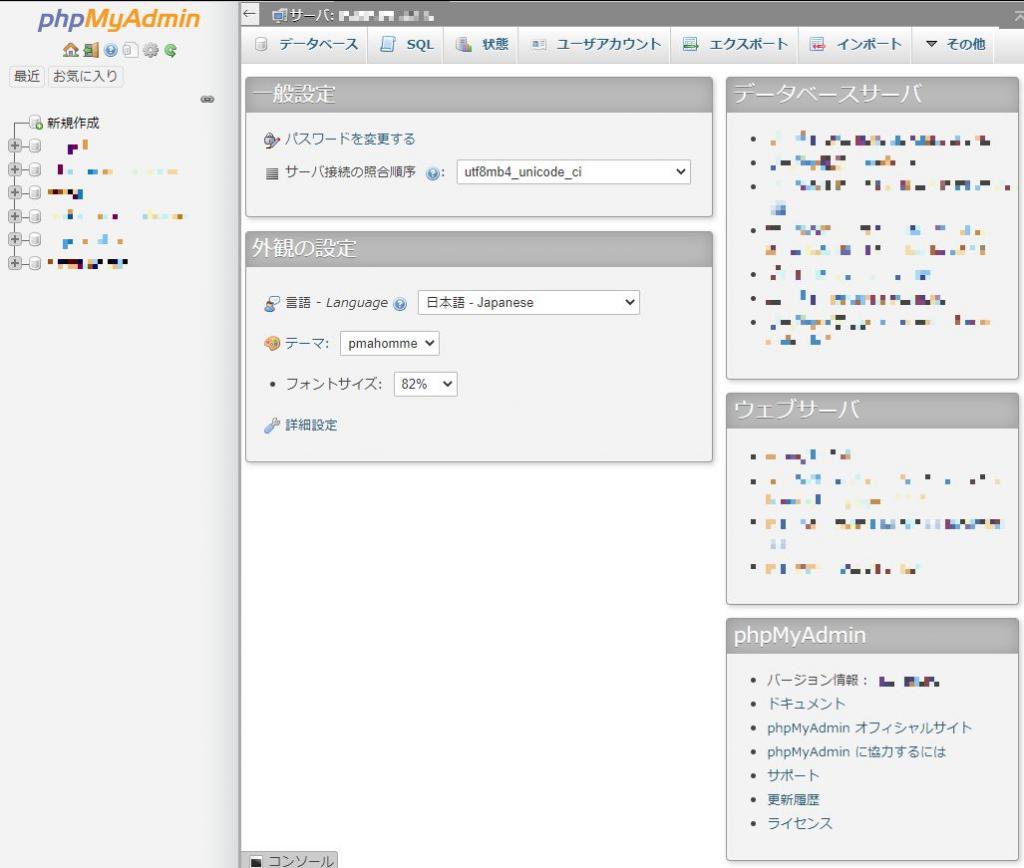
上記のような画面が表示され、エラー表示がなければ無事セットアップ成功です。
![]()
